

Print Bleed Explained: The Simple Concept Behind Clean Edges
Bleed is the extra margin of artwork that extends past the final trim line of a printed piece, usually 3mm on each edge. It exists so that when the paper is cut to size, the ink reaches all the way to the edge with no white slivers showing.
If you have ever received a business card or flyer with a thin white line along one side, you have seen what happens when bleed is missing or set up incorrectly. That small detail is one of the most common reasons a print job gets sent back for revision, and it is one of the easiest problems to avoid once you understand how cutting actually works.
Why Bleed Exists in the First Place
Bleed exists because no commercial cutting equipment is perfectly precise to the fraction of a millimetre across thousands of sheets. The bleed gives the blade a tolerance zone so the design still looks intentional even when the cut shifts slightly.
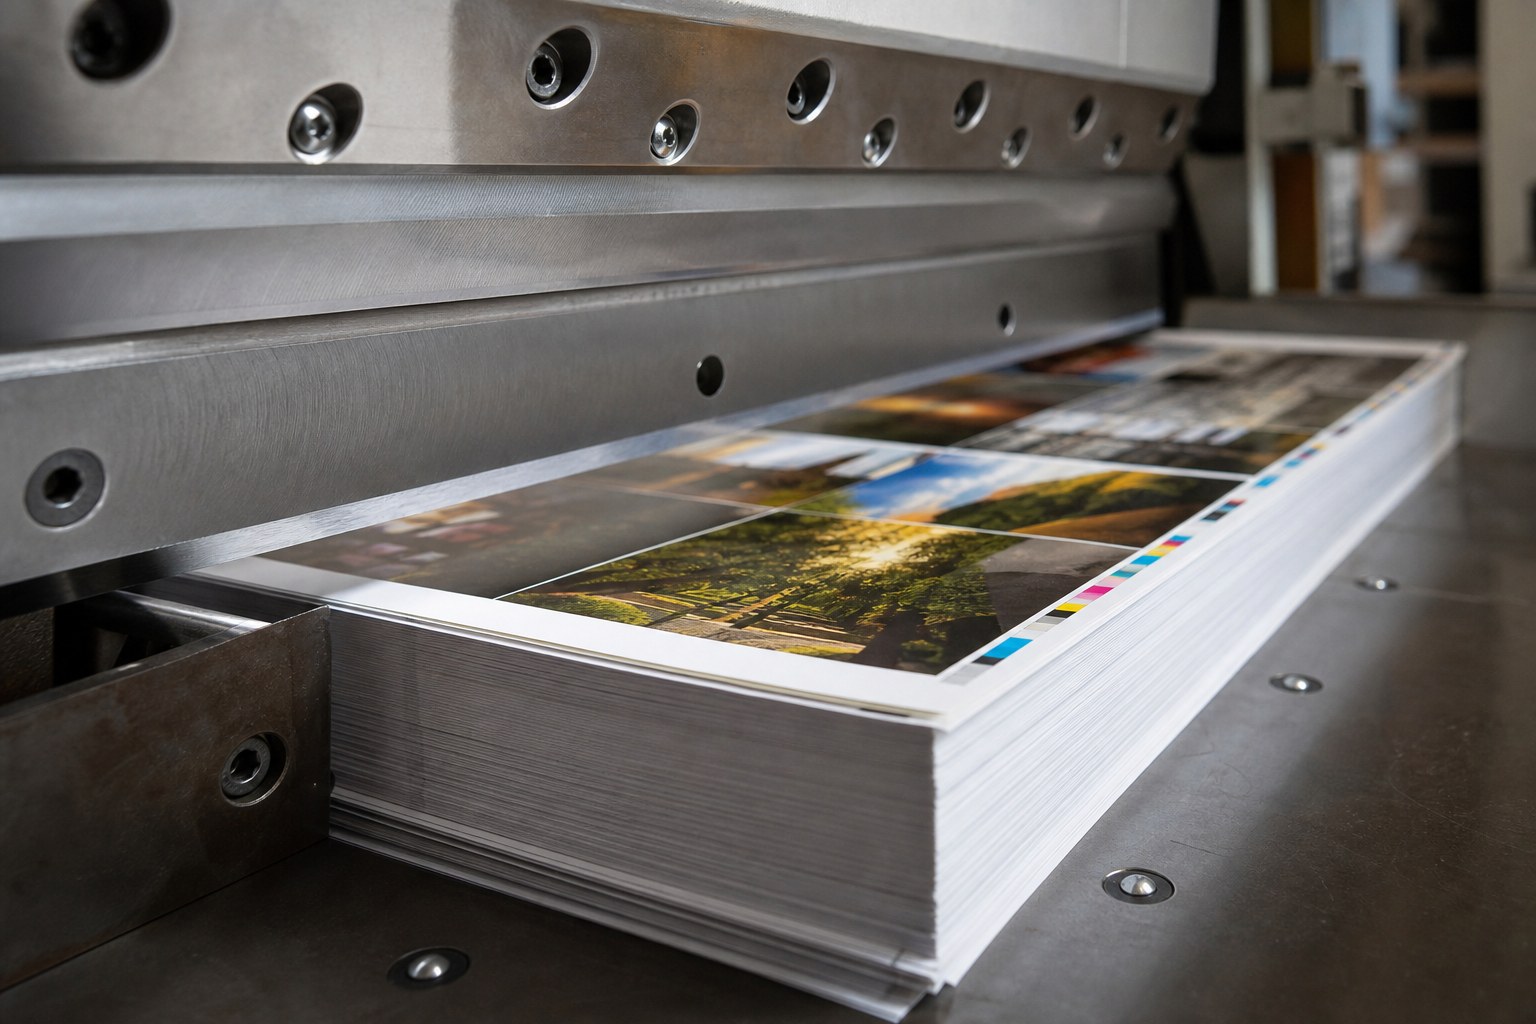
When a printer produces your job, the artwork is rarely printed one piece at a time on a sheet the exact final size. Sheets are printed in larger formats and then cut down, often several pieces at once. Industrial guillotine cutters and die-cutting equipment are accurate, but paper compresses, stacks shift, and blades move through a lift of material rather than a single sheet.
A typical commercial trimming tolerance is around 1mm of movement in either direction. Without bleed, that movement would expose the unprinted white paper underneath your design. With a 3mm bleed, the colour or image continues past the cut line, so even if the blade lands slightly off the intended mark, the edge stays clean.
The 3mm Standard in Canada
In Quebec and across Canada, 3mm of bleed is the standard most printers request for offset and digital work. This matches the metric standard used through most of the world.
You may occasionally see bleed expressed in inches, especially on files prepared for the United States market, where 0.125 inch (about 3.2mm) is common. The two values are close enough that most shops accept either, but it is always worth confirming the exact requirement before you build your file. Larger formats like banners, posters, and signage sometimes call for more bleed, often 5mm or more, so check with your printer when the piece is oversized.
The Three Lines Every Print File Has
Every print-ready file works with three reference lines: the bleed line on the outside, the trim line where the paper is cut, and the safety line on the inside. Understanding all three is what separates a clean file from a problem file.
Here is how they stack from the edge inward:
- Bleed line. The outermost boundary. Any background colour or image that should reach the edge must extend all the way to this line, 3mm beyond the trim.
- Trim line. The final size of your piece. This is where the blade is meant to cut.
- Safety line (or margin). Set 3mm to 5mm inside the trim line. Keep all important text, logos, and elements you cannot afford to lose inside this zone.
The safety line matters as much as the bleed. The same cutting tolerance that can expose white edges can also slice into text placed too close to the trim. A phone number sitting 1mm from the edge might end up with the bottoms of its digits trimmed off. Keeping critical content inside the safety margin protects against that.
A Quick Way to Picture It
Think of a postcard with a full-colour photo background and an address printed near the bottom edge. The photo should extend 3mm past every side (bleed), the card itself is cut at the trim line, and the address sits at least 3mm in from that edge (safety). Three layers, three jobs, one clean result.
What Happens When Bleed Is Missing
When a file has no bleed, the printer has only a few options, and none of them are ideal. The job gets delayed, the design gets altered, or the finished piece shows white edges.
In practice, a shop will usually contact you to request a corrected file, which adds time to your schedule. If a deadline is tight, the alternative is for the printer to either scale your artwork up slightly to fake a bleed (which can crop your content or distort proportions) or to add a white border around the whole piece (which changes your design). Neither of those is a substitute for a properly built file.
For Accent’s clients working on packaging, labels, and retail displays, missing bleed is especially costly because these jobs often involve custom die-cutting and finishing. A label that wraps a container or a folding carton with printed edges has no room for white slivers. Getting the bleed right at the file stage prevents reprints and keeps a product launch on schedule.
How to Set Up Bleed in Common Software
Setting up bleed correctly takes a single step at the start of a new document, far easier than fixing it later. Most professional design tools have a dedicated bleed field built into the document setup window.
Adobe InDesign and Illustrator
When you create a new document, open the bleed and slug settings and enter 3mm on all four sides. The bleed appears as a red guide outside your trim edge. Extend any background imagery or colour to that red line. When you export to PDF, check the “Use Document Bleed Settings” box and include crop marks so the printer can see your trim line.
Canva and Other Online Tools
Canva includes a bleed option under the design settings, often shown as “Show print bleed.” Turn it on, extend your backgrounds to the dotted line, and download as a PDF for print with crop marks and bleed enabled. Free and template-based tools vary in how much control they offer, so if your design has full-edge colour, confirm the export actually includes bleed before sending it over.
A Note on Office Software
Programs like Microsoft Word and PowerPoint were not built for commercial print and do not handle bleed well. If your artwork needs colour to the edge, it is worth recreating it in a design tool or asking your printer whether they offer prepress help. Many shops, including Accent, can review or adjust files before production.
When You Do Not Need Bleed
You only need bleed when your design has colour, images, or backgrounds that reach the edge of the paper. If your piece sits on a plain white background with a margin all around, no bleed is required.
A simple letterhead, a black-text resume, or a form with white borders prints fine without bleed because the white edge of the page is simply the unprinted paper. Adding bleed in those cases does no harm, but it is not necessary. The moment any colour touches an edge, bleed becomes essential.
Frequently Asked Questions
How much bleed do I need for printing?
For most offset and digital jobs in Canada, 3mm of bleed on each side is the standard. Large format pieces such as banners and posters may need 5mm or more, so confirm with your printer when the piece is oversized.
What is the difference between bleed and safety margin?
Bleed extends artwork past the trim line so colour reaches the edge after cutting. The safety margin sits inside the trim line and keeps important text and logos away from the blade. You need both for a clean result.
Can a printer add bleed to my file?
Sometimes, but the options are limited. A printer can scale your artwork up or add a border, but both can alter your design. The best result always comes from a file built with bleed from the start. Many shops offer prepress file review to help.
What file format should I send for print?
A press-ready PDF with bleed and crop marks included is the most reliable choice. Export with “Use Document Bleed Settings” enabled and confirm the trim size matches your intended finished dimensions.
Do I need bleed for a design with a white background?
No. If your design has a white border or margin and no colour touching the edge, bleed is not required. Bleed only matters when ink reaches the trim edge.
What happens if my file has no bleed?
The printer will usually ask for a corrected file, which adds time. If the deadline cannot move, the design may be scaled or bordered, which changes the look. The risk otherwise is white slivers along the trimmed edges.
Getting Your File Right the First Time
Bleed is a small setting with a large impact. Three millimetres of extra artwork is the difference between a polished piece and a reprint, and it costs nothing to set up correctly at the start.
If you are unsure whether your file is ready for production, send it to your printer before you commit to a run. Accent’s team reviews files for bleed, safety margins, and resolution as part of prepress, catching issues while they are still easy to fix. A quick check now saves time, money, and the frustration of seeing a white edge on a job you were proud of.